हाइड्रोलिक नली संयोजन
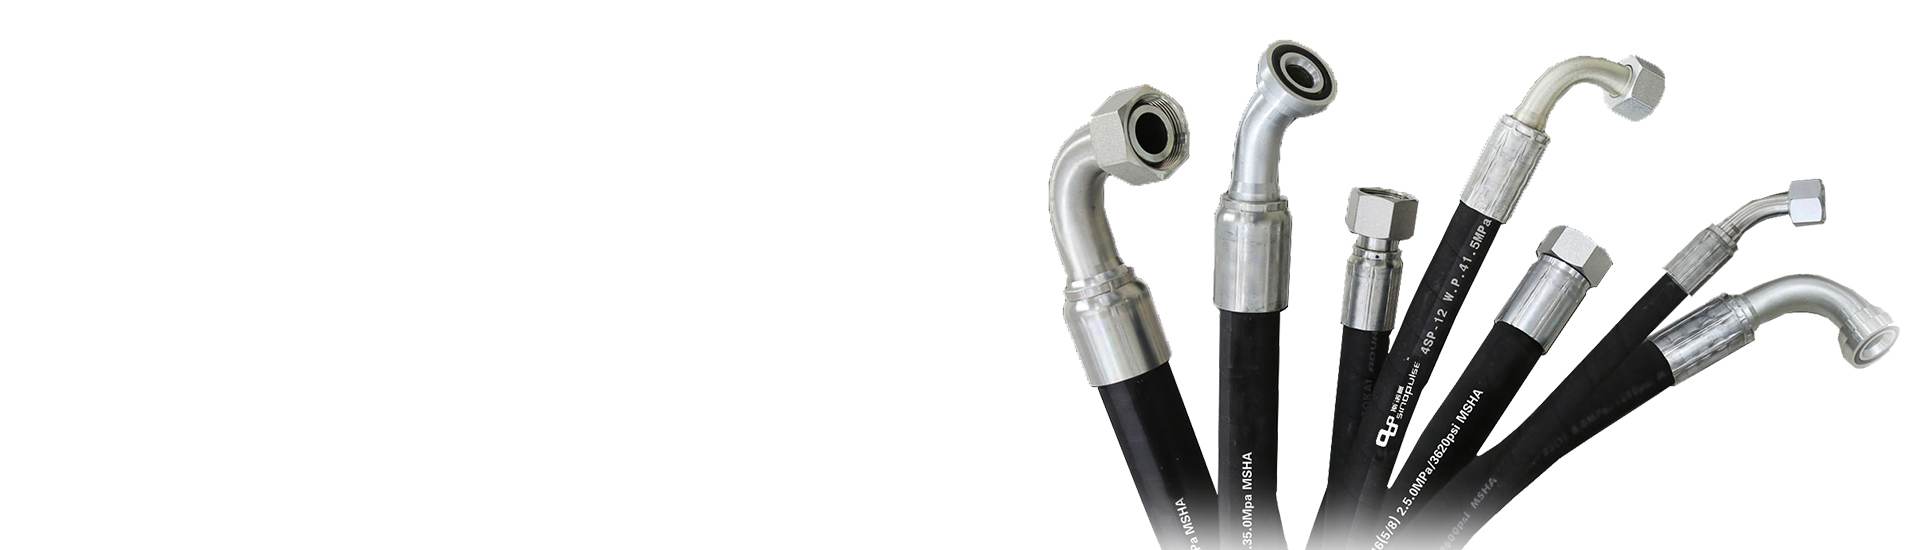
Our hydraulic hose assemblies consist of hydraulic hoses with pre-attached crimp fittings. You can customize the hose type, length, and fittings according to your project requirements to create the most suitable assembly.


अपनी कस्टम नली असेंबली को कैसे मापें
When assembling hydraulic hoses, you can choose from different angles of end fittings, such as straight, 45°, and 90°. If you choose two elbows, such as a 90° elbow and a 45° elbow, we need to know their installation direction so you can reinstall the hose onto your equipment. If you are unsure of the hose's installation direction, please call us before ordering!
Build Your Own Custom Hose
Our proprietary hydraulic hose brand, Sinopulse, can be pre-assembled according to your desired specifications. We also provide fittings to complete your hydraulic hose assembly.
These hoses and fittings are manufactured in-house, guaranteeing they meet your specifications. We will manufacture them after determining your required hose size and end fittings. Additionally, we recommend adding protective hose wrap. The following information will help you create the best hose assembly to meet your needs.
On this website, you can build your own custom hose. We offer a variety of hoses for you to choose from. You can select the hose, the length, and the fittings, and we will custom make it for you.
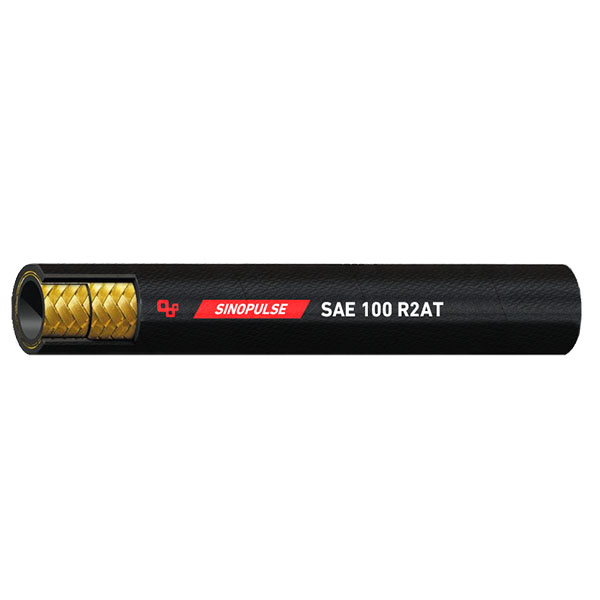
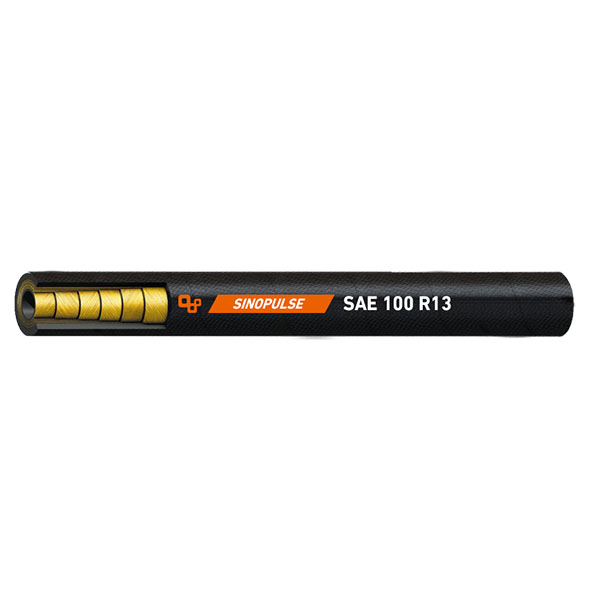
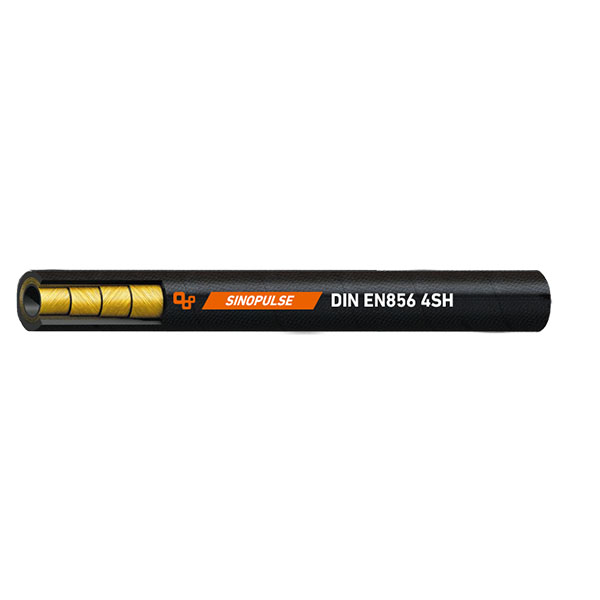
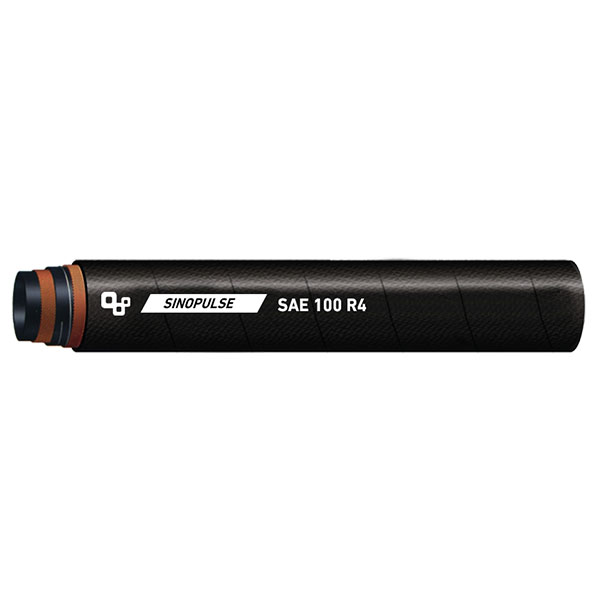
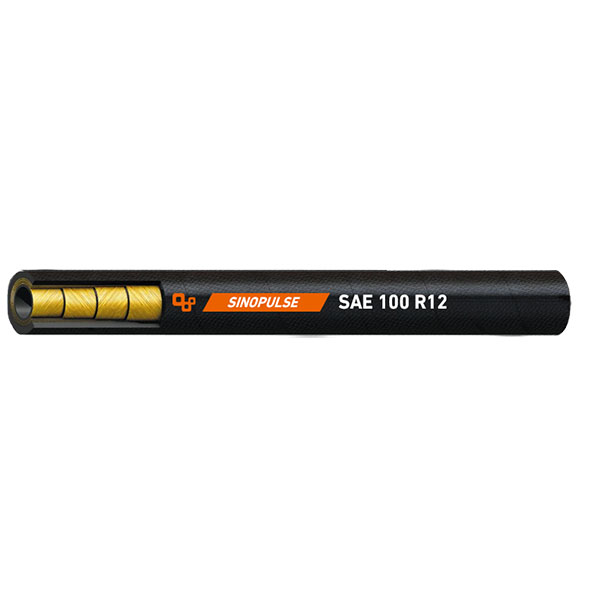
Custom Hydraulic Hose Assemblies have fittings installed on both ends, used to connect the hose to compatible equipment. Hydraulic hoses are used for transferring fluids in petroleum and water-based systems found in industrial, marine, automotive, mining, and manufacturing equipment. These hydraulic hoses are reinforced to maximize their strength.
Hose Safety and Installation Considerations
When installing a hose for the first time, be sure to leave some slack. This prevents the hose from experiencing unwanted stress when it moves during use.
During installation, ensure the hose assembly has no unwanted twists. The hose will try to straighten out during use, which can damage the hose assembly.
Avoid excessive bends when installing the hose. Excessive bending can cause unwanted crimps in the hose, which can lead to catastrophic failure.
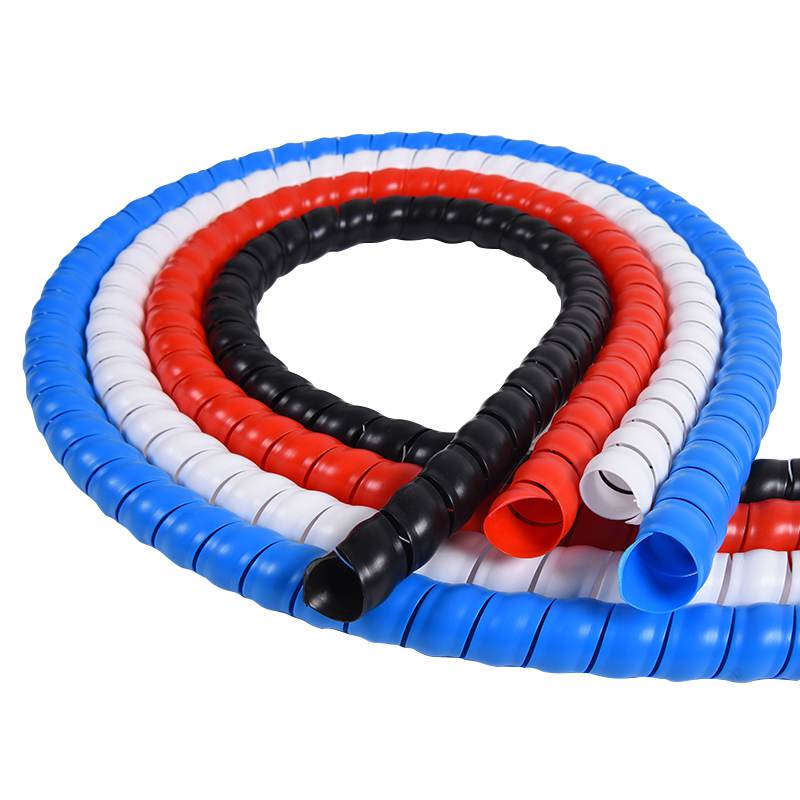
Adapters and brackets can prevent your hose from being exposed to environmental hazards. Secure the hose properly and away from sources of heat via brackets to ensure the longest lifespan of the hose.
Whether you need a standard length hose or a more customized assembly solution, Sinopulse can meet your needs. Our experts can assist you in selecting and manufacturing the right hydraulic hoses, industrial hoses, and metal hoses.

संबंधित उत्पाद

How to assemble a hydraulic hose and made-to-order hydraulic hose assembly
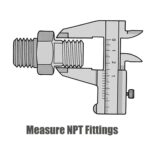
The tools to assemble a hydraulic hose required will be a verier gauge, clean oil, access to an air supply, a white marker, and safety glasses.
The components will be the correct hose with two ferrules and two inserts. Size of the hose should be decided using information such as the working pressure and media used. you should also bearing in mind other factors such as position, the working environment the hose will be used in and any movement.
All of these can affect the environment the hose will be used in and any movement. All of these can affect what type of hose should be used and if any protective sleeve or covers should also be fitted to increase the life expectancy. All the parts to be used in the construction of the hose should be from the same manufacturer as all use different machine tolerances when making the parts.
Mixing these could cause a premature failure and would invalidate any warranty given by the manufacturer. Once you have selected the right hose and fittings for the SEM for the assembly, we'll begin. Using the fittings you required will help work out the hose cut length.
Measure the fittings from the sealing cone to the locking collet for the ferrule, allowing a small amount for expansion. Ensure that you have a measuring trough or a flat surface to lay the hose prior to cutting. This will get a far straighter cut. Essential for allowing a good interface between the hydraulic insert ferrule and hose.
For safety and protection, wear safety glasses during this procedure. Before you continue, make sure you remove any contamination by using an airline in and around the cut in the hose by marking a white line in the position where the ferrule will be situated. This will help ensure that when coupled together, the ferrule's movement can be monitored. You may also want to use a small amount of clean oil to help you push the fitting into the hose as these can often be extremely tight.
Make sure that the fitting is positioned correctly and that any interlocking parts have a correct pathway to each other. This will stop the fitting from pushing out when suaging and also keep the fitting sealed under pressure. Should you be using angled connections on both end of the hose, check the orientation of the fittings. sometimes known as clocking.
The normal procedure for this is to have the end furthest away from you at 0 degrees or 12:00 and then angle the fitting closest to you into the required position. This can help when fitting the hose and will guard against twisting the assembly which then decreases its life expectancy.
Select the appropriate suage dimension using the suage chart provided by the hose manufacturer, making sure that all the parts match. correct ferrule as sometimes there may be a choice depending on the suage chart. Now you can set the sager manufacturer. This should also be indicated on according to these details.
You should have an OD finish size that the manufacturer specified and set the micrometer on the machine in line with the manufacturer's recommendations. You will then need to select the closest set of dyes down from that size. Make sure that all the crimp dies are fully locked into position. The front of the ferrule will need to be 3 mm back from the front edge of the dies. This will guarantee that a full concentric suage is applied. Wait until the swage stops.
Then using a verier gauge on the OD of the fereral, check that the hose is correctly finished. When measuring this, ensure that the tips of the verier are inside the ridges of the fereral or you will get a false reading. Should you be swaying a straight hose fitting, you can then use a no-go gauge to check for an internal collapse of 10 thou and blow the assembly through to remove any potential contaminants created from the suaging process.
Then using a plug or cap to seal both ends to prevent per contamination before the unit is fitted. The label should state where and when the hose was made for traceability purposes and also can be used for other information such as customer part numbers.